Let It Shine
Welcome Everyone,
Glad you could stop by. Today I will be talking about my new class I took at the Altenew Academy for my AECP Course. It’s called Let is Shine. The teacher is the very talented Carissa Wiley. This class is probably my favorite so far. Since I absolutely love adding some kind of sparkle to my cards.
In this class we had to add sparkle in the form of cardstock, heat embossing, gems etc.. These are just some of the ways. There are so many more options. You can choose whichever kind of sparkle makes you happy 🙂
The Card…….
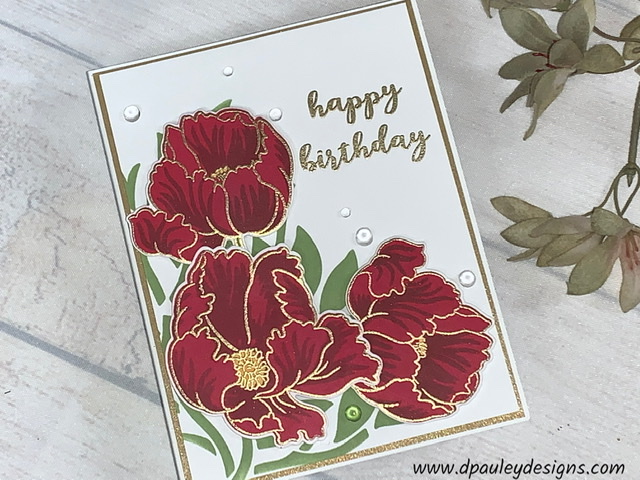
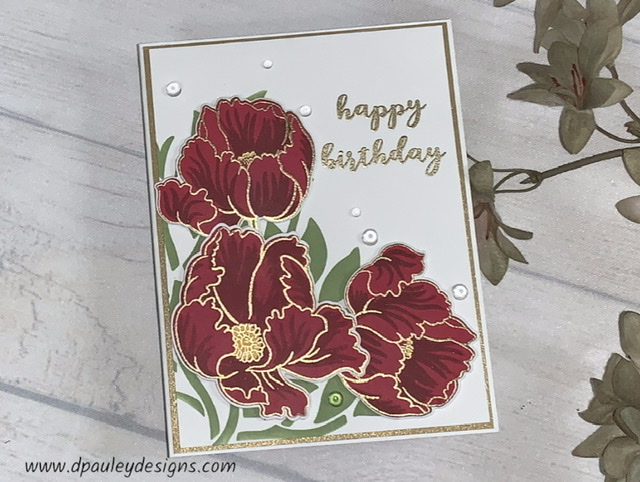
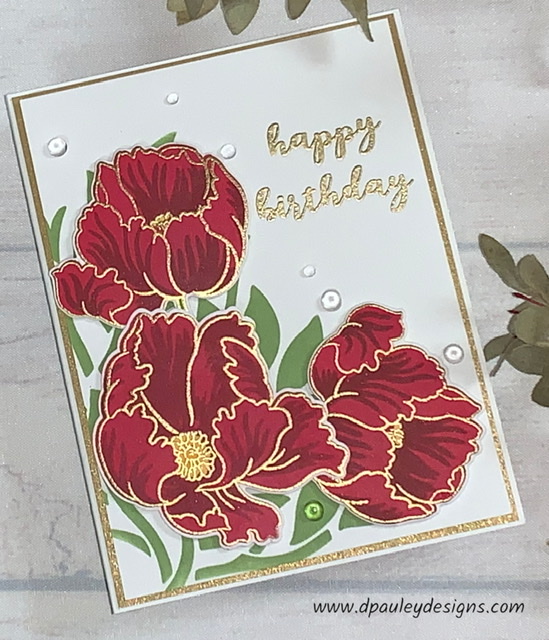
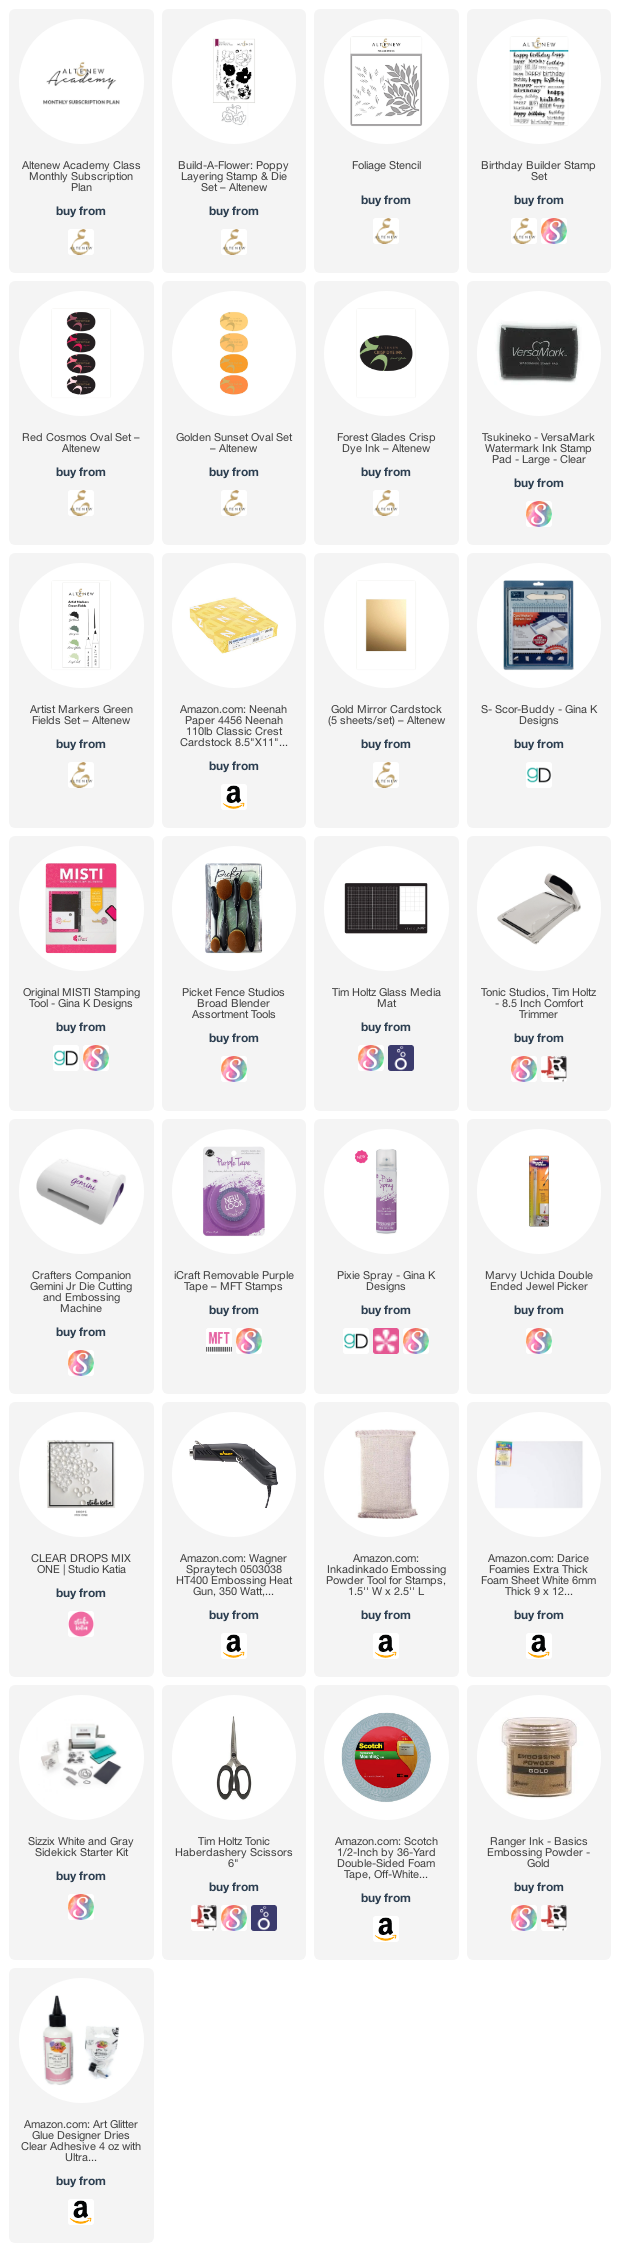
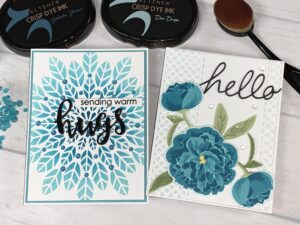
Ok… Let’s get started on the card. I will be using the Altenew Build a Flower Poppy Stamp and Die Set, the Altenew Birthday Builder and the Altenew Foliage Stencil.
I start with a piece of Neenah Classic Crest 110lb Cardstock cut to 4 1/4″ x 5 1/2″. I take Pixie spray and cover the back of the Foliage Stencil with it. Then I place the stencil on the cardstock where I want it to go. I chose to put it on the left hand side. Using The Altenew Forest Glades Ink and my Picket Fence Blending Tool I ink blend the stencil. I start by rubbing some of the ink off onto the Tim Holtz Glass Media Mat. This helps to prevent harsh ink lines on my paper. What I LOVE about the glass media mat is that it cleans up so easily…YEAH! I’m all for easy clean up!
For the flowers, I use the Misti Stamping Tool to do all my stamping. (But you can use an acrylic block if you want to). I start by stamping the solid image with the Altenew Ruby Red Ink. I double stamp this image because I really want the red to have a deep red color to them. I use the Altenew Grapevine Ink to stamp the second image of the flower. I did double stamp this image twice since I double stamped the first image twice.
The open flower has 3 layers to the center of it and the bud flower only has 1 layer to it. I stamp the first 2 layers of the open flower and the center of the bud flower with the Altenew Sunray Ink and I stamp the 3rd layer of the open flower with the Altenew Chamomile Ink. I did double stamp this 3rd image.
For the outlined images I chose to use Ranger Gold Embossing Powder. First I prep the paper by rubbing the Embossing Powder Bag all over it. (This helps to prevent the embossing powder from sticking where you don’t want it to) Once I use the powder bag I stamp the sentiment using Versamark Ink. Then I pour the Gold Embossing Powder on it. I shake any excess off and put it back in the jar. When my Heat gun is good and hot I move it all around to heat the gold powder.
I then cut around the images with my Tim Holtz Haberdashery scissors so that I can fit the images in my Sizzix Sidekick Machine.(I like to use the Sidekick machine when I have small images to die cut. I find that it’s a lot faster than putting it through the big die cutting machines)
Once I cut my images, I use the Altenew Forest Glades Artist Marker to color the stems on the Bud flowers.
I will then trim the edges off of the stenciled leaf panel. I cut it to 4″ x 5 1/4″. I heat embossed the Happy Birthday Sentiment onto the stenciled leaf panel. (using the same procedure as above for the outlined images)
Assembling the Card….
I put Foam Tape on the back of the flowers and adhere them where I want them to go on the stenciled leaf panel. I like the dimensional look it gives to the card. I glued a piece of craft foam (a little smaller than the leaf panel) to the back of the stenciled leaf panel. This gives dimension to the card. I also glued this panel to a piece of Gold Cardstock to help add to the shine factor. After all it is called the “Let It Shine” Class. Then I glue the entire panel to a piece of Neenah Classic Crest 110lb Cardstock that is folded to 4 1/4″ x 5 1/2″.
BUT…to me it wouldn’t be a true Let It Shine card unless I add some gems to my card 🙂 So I glued on some Studio Katia Dew Drops to the card.
So to sum it up. The three elements I used to make my card shine was Heat Embossing, Gold Cardstock and Gems. There’s so many other elements you can use to make your card shine. Washi Tape, Glitter etc.. Find what makes you happy and hopefully you add some shine to your cards 🙂
That completes my card for today. If you would like to see how I made the card, please watch my Youtube Video listed below.

This looks wonderful! Perfect amount of shine!
Thank you for entering your work to the AECP assignment gallery.
Thank you so much Erum!
Very pretty Dawn! I love a little bling and the amount you added is just the right amount!
Thank you Janet.
Such beautiful colours on an elegant and classy card. Love it!
Thank you Teresa!