Today is a very exciting day!
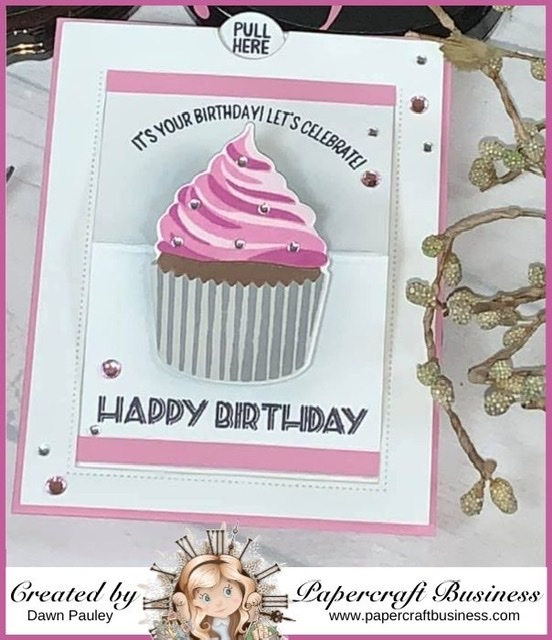
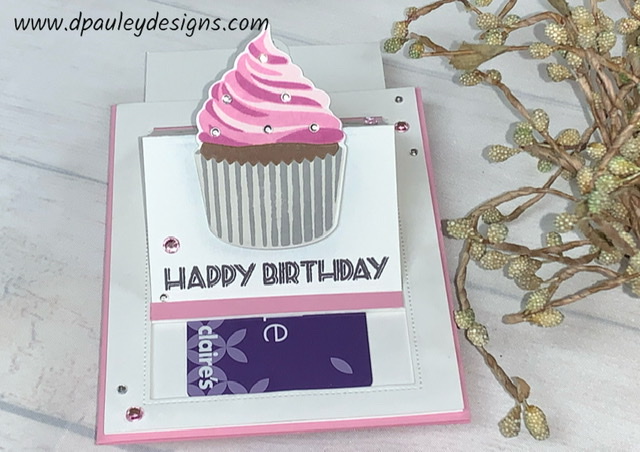
I have joined the Papercraft Business Challenge Design Team and I am submitting my first project. The theme for the October Challenge is to make an Interactive Card. I chose to make a gift card holder using the Altenew Layered Cupcake and the Sunny Studio Sliding Window Die. So head on over to the Papercraft Business Challenge to join in on the fun.
So with out further delay…. Let me tell you how I made this great gift card holder.
First I take a piece of Neenah Classic Crest 110lb cardstock (because you want it to be strong to withstand the up and down motion) cut to 4″ x 5 1/4″. Using the Sunny Studio Sliding Window Die and Purple Tape, I tape the die in the center of the piece of cardstock. Then I put the little notch die (half circle) it came with on the top of the top edge in the center of the cardstock. (please note: it goes on the opposite side of where the 2 line bar on the die is). I run it through my Gemini Jr machine. Then I burnish all the score lines. There is one at the top, middle and bottom. The bottom score line is going to be folded to the lip comes up in the front not down.
Next I created the slider part. I cut a piece of white cardstock to 3 1/4″ x 4 3/4″. I flipped my window die cut piece over. Using Scor tape (double sided tape) I put a piece on the back side of the little flap and then adhere 3 1/4″ x 4 3/4″ cardstock to the edge of the flap (You attach one end of the cardstock to the edge of the flap).
I place Foam Adhesive on the back of the slider along the two sides and the bottom. I do not put any along the top. Also, make sure not to touch the foam adhesive to the edge of the slider. It needs room to slide up and down. Once I do that, I then take another piece of cardstock cut to 4″ x 5 1/4″ and adhere it to the foam tape. I take my Hero Arts Nesting Dies to cut two small circles ( big enough to fit the pull here sentiment). Then I stamp pull here using the Lawn Fawn Push Here stamp set. and glue it to the top of the pull tab.
Next, we are going to decorate the card. Using Gina K Bubble Gum Pink I cut to strips of cardstock cut to 1/4″ x 3″ and adhere it to the top and the bottom of the slider. Now I place the card in my Misti Stamping tool I stamp the It’s your Birthday! Let’s Celebrate at the top of the slider and I stamp Happy Birthday to the bottom of the slider using the Altenew Layered Cupcake stamp set and the Altenew Dark Night Ink. When I’m done I will set that aside and create the cupcake.
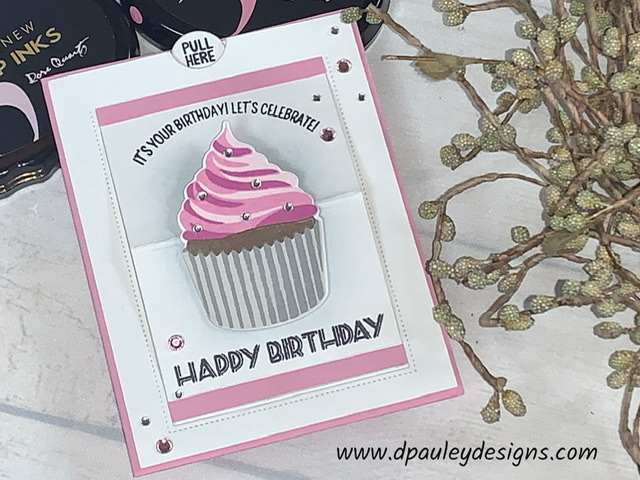
I use my Misti Stamping Tool again to do the stamping since there are so many layers to the cupcake. First I stamp the cupcake wrapper. I stamp the solid layer using Simon Says Stamp Fog Ink and the top layer using Distress Oxide Ink – Hickory Smoke. Then I stamp the cupcake using Distress Oxide Ink – Vintage Photo. To finish off the cupcake I use the Altenew Rose Quatz Ink for the solid layer and then I use the Altenew Puffy Heart Ink for the second layer double stamping it. Then for the third layer I use same Puffy Heart Ink but I stamp it 4 times to give it a darker look.
Using the Altenew Layered Cupcake Die I run the cupcake through my Gemini Jr machine. I then cut three more cupcakes from white cardstock and adhere them to the back of the cupcake to give it added dimension. Using my Picket Fence Blending Brush and the Distress Oxide Hickory Smoke Ink I ink blend a very light amount in the center of the card. When I’m done I put glue on the bottom of the cupcake only and adhere it to the front of the card. I then glue the cupcake sliding panel to the front of a piece of Gina K Bubble Gum Pink Cardstock that is folded to 4 1/4″ x 5 1/2″
To finish off my card I just love to add some sparkle. I put Honey Bee Clear Gems on the cupcake and on the card and I put Pink Gems on the card also. I just got them at my local craft store. I will link below a pink gem that is similar to the one I used.
That’s it for my card today.
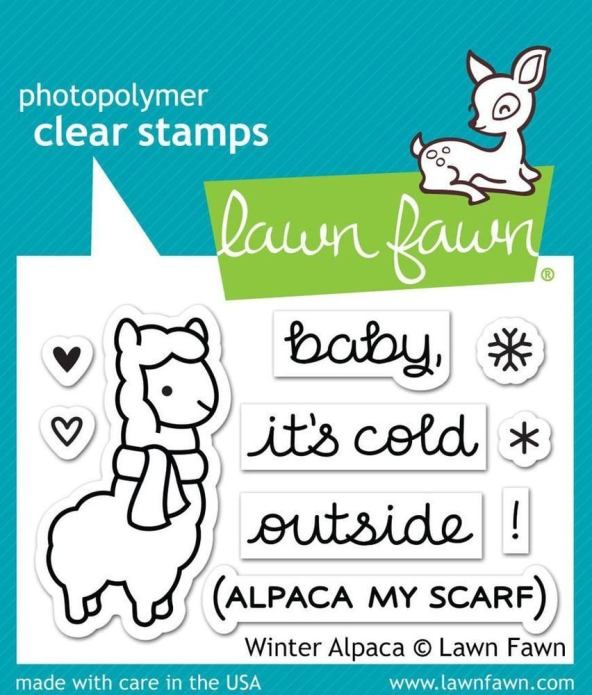
Thanks for stopping by and don’t forget to come play along with us at the Papercraft Business Challenge and enter a card:) Your card could win this awesome stamp set from Lawn Fawn
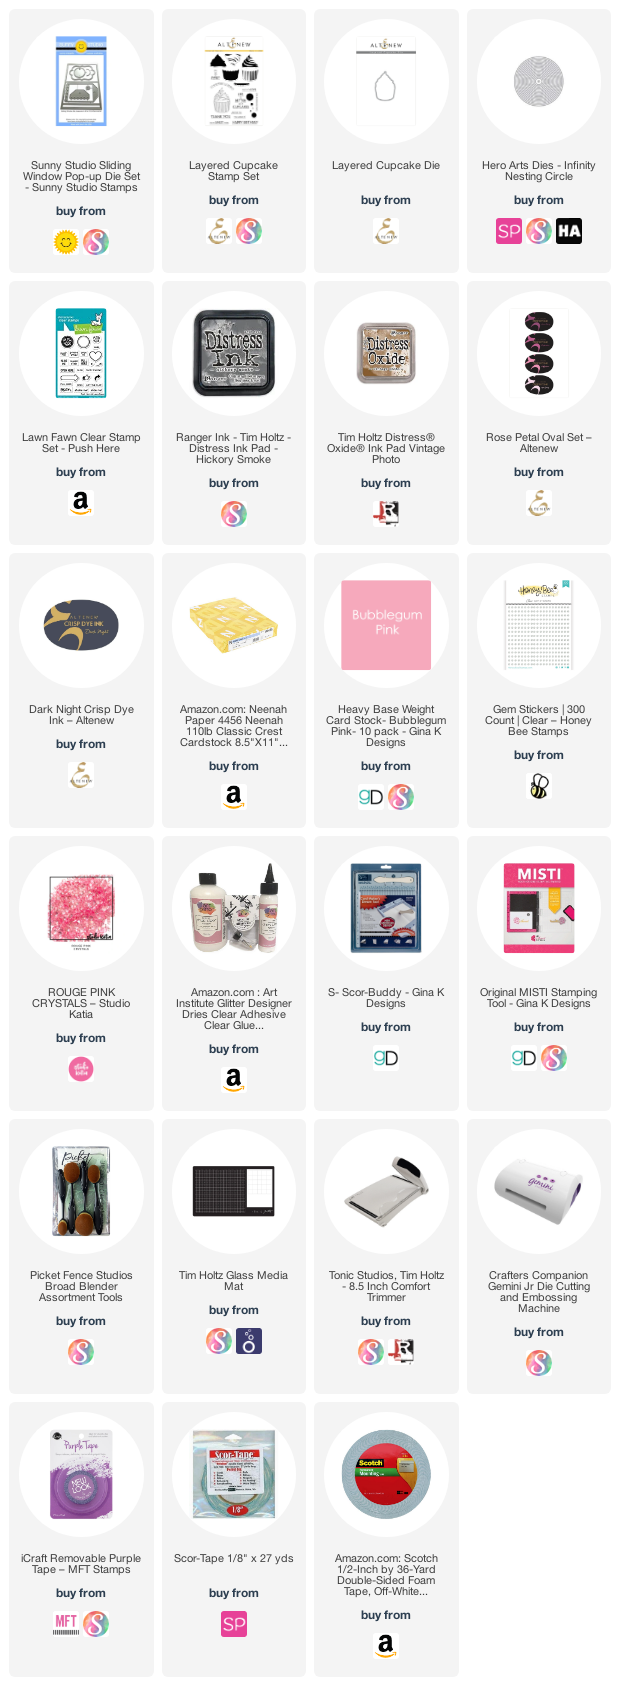
I have attached a list of the products I used to create this card if you are interested.
Affiliate Links may be used at absolutely NO Charge to you. All items have been personally purchased by me. I do not work for any of these companies. I only recommend products I personally use and like. All opinions are my own. Proceeds I make off of the affiliates helps me to offset some of the cost to maintain my blog, Youtube channel and supplies needed to bring you new content. I appreciate anyone who shops through them.
Copyright: I am happy to share my creations with you. I don’t mind if you use them for your own personal use. If you decide to share what you’ve made online please link back to my Youtube Channel or Social Media post that inspired your design. While I love this and encourage it. It is NOT ok for someone to sell anything that was created by my design or to use my photos for any type of compensation. I appreciate your understanding in this.
D Pauley Designs is a participant in the Amazon Services LLC Associates Program, an affiliate advertising program. I may earn small commission off of your purchase.
Pingback: PB Challenge #32 – October
Such a pretty card Dawn! The cupcake design is so perfect for this type of interactive card! Welcome to the team!!
Thank you Anna. I’m so excited to be a part of the Design Team. Everyone has been so welcoming!
This is so pretty!!! Cant wait to see more of your cards
Thank you so much!
Super cute card! I love a good “fancy-fold” and will be CASE-ing this for sure! Thank you for sharing!
Glad you could stop by. Thank you!
Darling card. Interactive cards are so fun!
Thank you. I love making fun cards!