How much fun is a Sewing Contest!!
I am very excited to enter my card into the Altenew Sewing Contest. This is my first time ever creating a card that I had had type of sewing involved. It’s funny, I never really thought about sewing on a card before. I have often seen people do it but I didn’t think it would be something I would enjoy doing. However, I found that it actually relaxed me and I enjoyed doing it. I could do it while I watched TV, I took it with me to my son’s football practice (yes, football is still on in my town) and while the kids were swimming. I recommend giving it a try if you haven’t tried it before. 🙂
So let’s get started with the card………
First I take a piece of White Neenah Classic Crest 110lb cardstock cut to 4″ x 5 1/4″. Then using my T-ruler I mark a small pencil mark (on the side of the 5 1/4″ length) at 2 10/16″ near the edge of the paper. I then place the top of the Altenew String Heart die so the pencil mark is in the middle of the 2 humps of the heart. This will ensure the heart is centered evenly on the paper. I use purple tape to hold it down on the paper to ensure it doesn’t move around. I run it through my Gemini Junior machine. Once I finished with that, I then place the heart so the bottom of it is about a 1/4″ away from the tip of the middle heart (See picture for reference). I run it through the Gemini Junior again. I repeat this process on the other side until I have the 3 hearts on the card.
Now I will stitch the embroidery floss on the card. Using a needle I thread the floss through the eye of the needle. I leave a long piece of the thread hanging (approx 3 feet. use whatever length works best for you). Starting at the bottom of one of the hearts, I put the needle through the back of the paper and pull it through. Then I tape the end down to the card to hold it in place. Then I go to the very top of the heart on the front of the card and put it through the hole that is directly above the bottom hole and I pull it through. Now I put the needle at the bottom of the heart to the RIGHT of the hole I just did (on the back side of the paper) and then I pull it through to the front of the card. Then I go to the top of the card and push it through the whole to the LEFT of the first hole. I continue to work from the RIGHT side on the bottom and working the LEFT side from the top until I go around the whole entire heart. If I run out of string I just tape down the end of the string to the back of the heart and thread another needle with more floss. I continue until all 3 hearts are done.
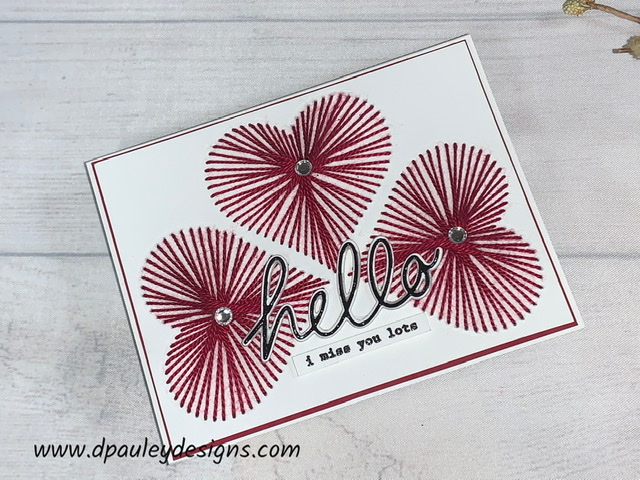
Once I’m done, I put foam tape on the back of the hearts panel. I put the foam tape all around the edge and around the hearts (but not directly on the hearts otherwise it will be to bulky) Then I adhere it to a piece of My Favorite Things Electric Red Cardstock cut to 5 6/16″ x 4 2/16″. Then I adhere the heart panel to a piece of White Neenah Classic Crest 100lb cardstock folded to 5 1/2″ x 4 1/4″. I place the panel so it opens from bottom to top instead of side to side.
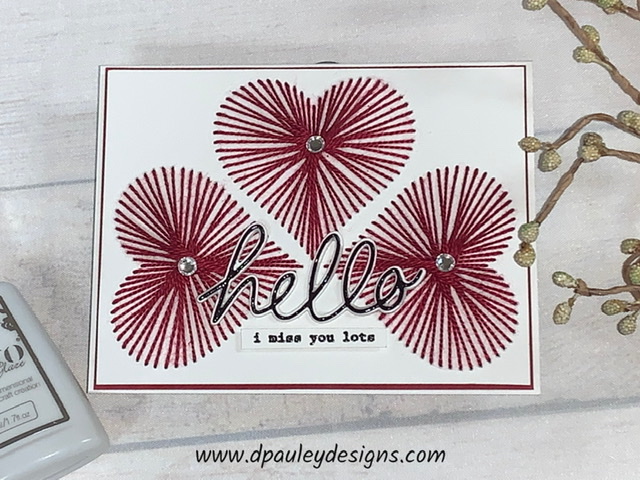
Using the Altenew Handwritten Hello die I cut the hello sentiment from a piece of Hero Arts Pitch Black Cardstock and I cut 3 hello shadows from white cardstock. Using my Gina K connect glue I adhere all the shadow dies together and then glue the black Hello on top of it. Then I glue the Hello Sentiment on to the card. Then I’m going to heat emboss the I miss you lots sentiment onto a piece of white cardstock. I place the cardstock onto the Misti Stamping tool then I rub it with the embossing powder bag. Then I stamp the sentiment using my Versifine Black Ink. Then I cover it with Ranger Clear embossing powder. When I’m done I use my Wagner Heating Tool to heat set it. Then I put foam tape on the back of it and adhere it to the card.
To finish off the card I adhere Crystal Gems to the center of each heart. Then to finish off the card I put Clear Nuvo Drops onto the hello sentiment. That finishes this card 🙂
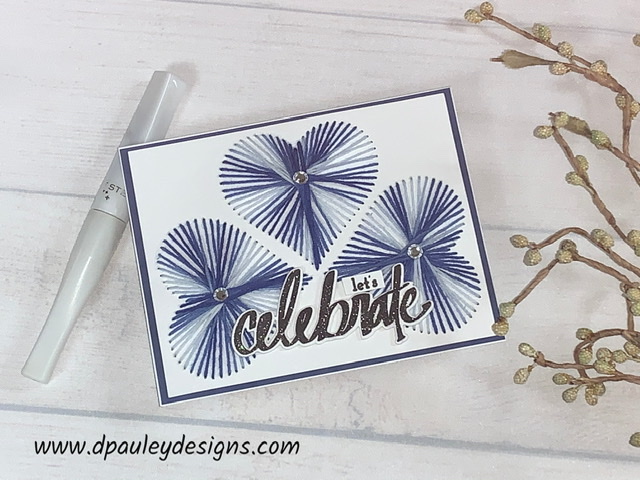
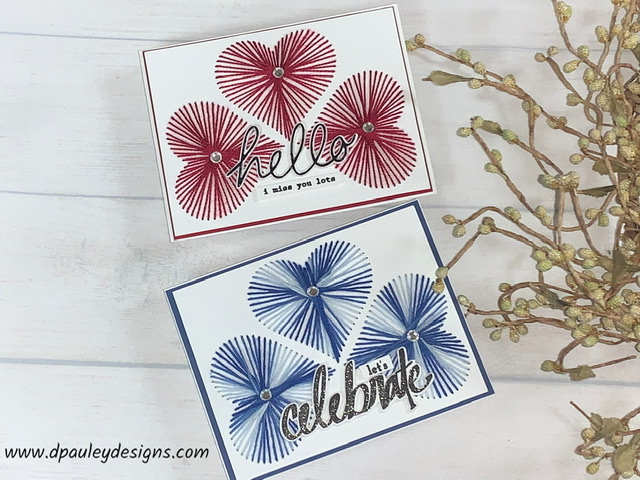
For the blue hearts you follow the same exact steps as above. The only difference is I used a multicolor floss to make the hearts.
I also used My Favorite Things Blueberry Cardstock to adhere the heart panel to. Then I stamped the Celebrate Sentiment with the Altenew Obsidian Black Ink. I used the Gemini Junior to die cut the word out and then adhered it to the card. I stamped the Let’s sentiment with the Altenew Obsidian Black ink and then adhered that to the card as well.
To give the card some sparkle I added Crystal gems and added some Wink of Stella to the Celebrate sentiment.
That completes this card.
I hope you enjoy these cards. For step by step instructions, please check out my Youtube Video below. If you like the video please subscribe to my channel so you don’t miss out on future tutorials 🙂