Welcome,
As you know, if you’ve been following my blog and Youtube channel. I’m taking classes at the Altenew Academy to earn my teaching certificate and I’m very excited to share with you what I’ve learned in my 8th class.
This class is all about Seasonal Scene Building. Learning how to use stamps and dies to build scenes.
So let’s get started on the card.
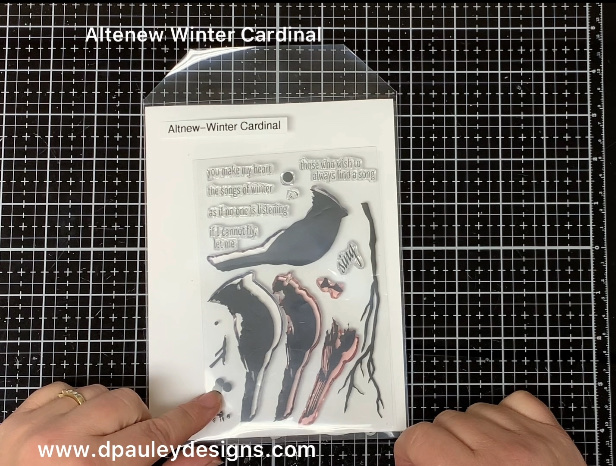
I will be using the Altenew Winter Cardinal Stamp and Die Set. The Cardinal has 4 layers to it. It comes with a tree branch and berries and I’m going to be building a winter scene for you today.
First I’m going to stamp all of my images using my Misti stamping tool. I start by placing the solid image of the cardinal on my paper. I stamp this image using the Altenew Blush ink. Next, I put the second layer on. It lines up very easy with the first image. Then I stamp it using the Altenew Rouge Ink. Then line up the 3rd image and stamp it using the Altenew Crimson ink. Using the Altenew Velvet ink, I stamp the last layer which is the darkest layer and I also stamp the markings on the face.
I stamp the cardinal’s feet using the Altenew Obsidian Black Ink. Then, I stamp the Cardinal’s eye using an acrylic block because I find it much easier since the stamp is so small. Next, I double stamp 3 tree branches using the Altenew Dark Chocolate Ink.
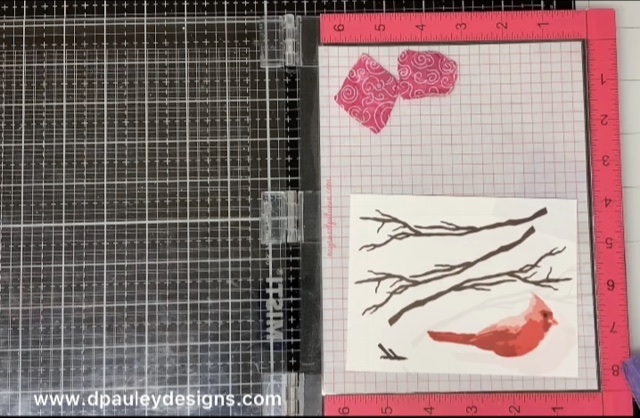
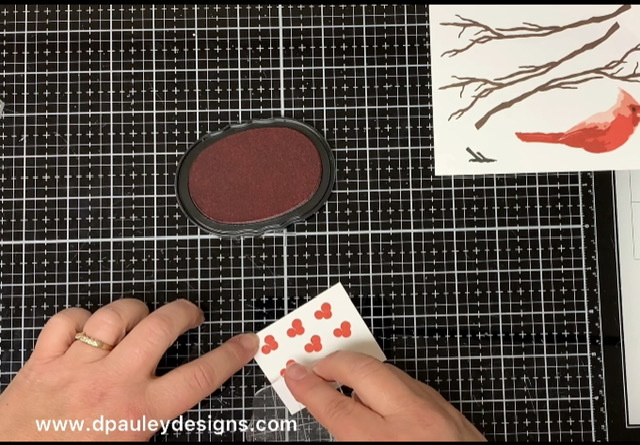
I stamp some of the berries onto a piece of white card stock using my acrylic block. I find that when it comes to small images like this, the acrylic block works much easier and faster for me.
I stamp 9 berries using the Crimson color ink. When I’m done, I stamp the second layer using the Velvet color ink. It’s very easy to line up the second image.
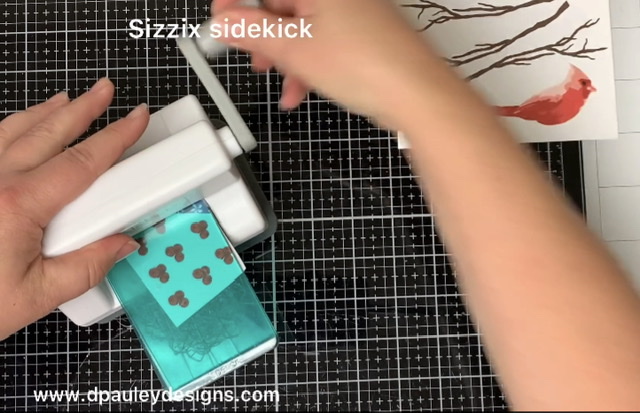
Once I’m done stamping all of my images, I die cut them out. I start with the small berries and run them through my Sizzix sidekick machine. I don’t take great care to line the dies up exactly on the image because I was fine with having some white show on the edge of the berries to give the look of snow on them.
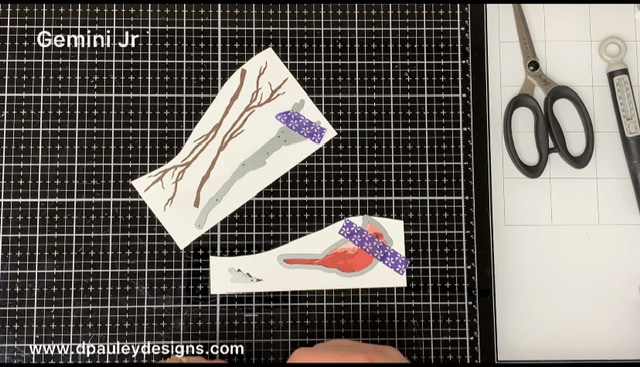
When I’m done die cutting all the berries out, I use my Gemini jr to cut out all the tree branches and the cardinal. Again, I don’t try to line up the tree branches perfectly because I wanted the white to show on the tree branches as well. I tape the dies down so they don’t move around when I run them through the die cutting machine.
It’s time to make the scenery for the card. I start with a piece of Neenah Classic Crest 110lb white card stock. I draw a very light pencil line where I wanted to cut the snowy hill, just to give me a guideline to follow.

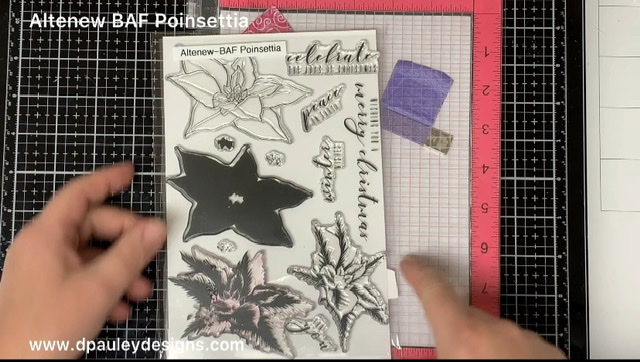
I used a sentiment from the Altenew BAF Poinsettia . The Sentiment is “Wishing you a Merry Christmas”. I was looking for a big sentiment to go across the bottom of the snow bank and this was perfect.
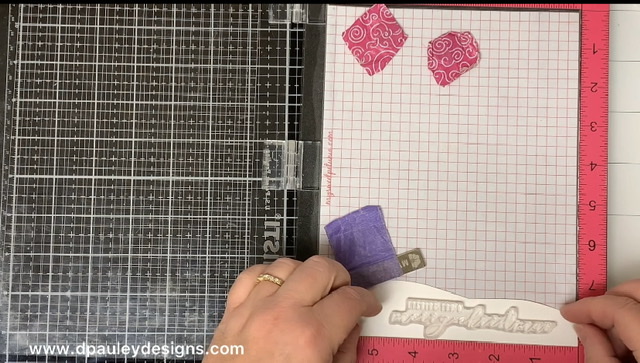
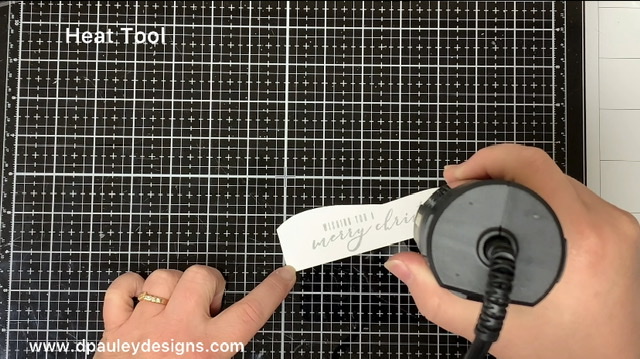
I take my snow bank and put it in my misti. I’m going to heat emboss the sentiment. I prep my paper with my embossing powder bag and then stamp it with Versamark ink.
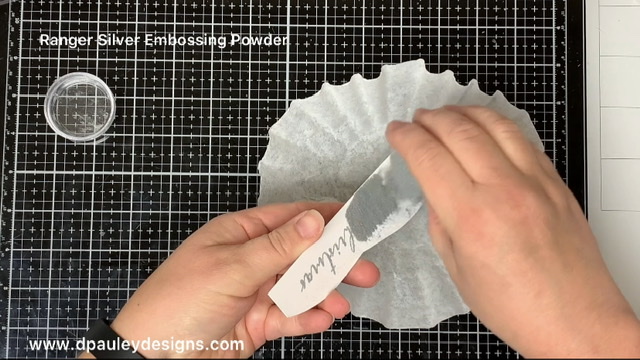
I cover the sentiment using Ranger Silver Embossing Powder. When my heat tool is good and hot, I heat emboss the sentiment. I like to lay the paper on my Glass Media Mat. I feel like it helps to prevent warping on the paper.
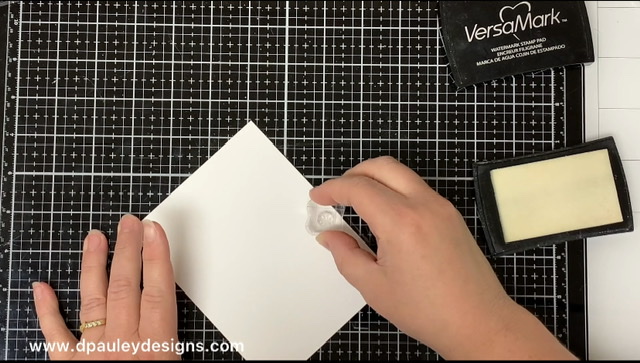
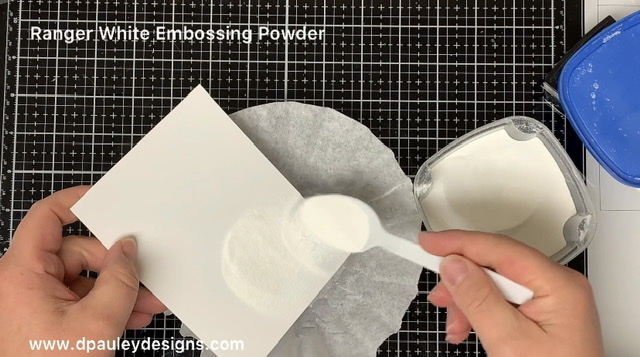
I wanted the background to look like snow was falling. So I used an older Hero arts stamp set called Layered Christmas and it has cute little snowflake stamps in the set. I used them to stamp my background. I wanted to heat emboss the snowflakes onto the card so they stay white on the blue background. I prep my paper with the embossing powder bag. Then using my acrylic block and versamark ink, I randomly stamp the snowflake all around the card.
First, I do the small snowflakes and then cover them with Ranger White Embossing Powder. When my heat tool is good and hot I heat emboss the snowflakes. Moving all around making sure to not stay in one spot for too long.
I work in batches since it’s hard to see where the ink is. Once I heat emboss the small snowflakes then I go back and I stamp some of the bigger snowflakes. Then I put the embossing powder on it and then heat emboss the rest of them.
I’m going to ink blend the background using the Altenew Carribean Sky ink. I take my Blending Brush and put some ink on it. Then I tap some of the ink off on a scrap piece of paper. I do this because I want a very light blue background and this helps to get most of the ink off of the blending tool and it helps to prevent harsh dark spots.

Next, I take a cloth and rub off any excess ink that is on top of the white snowflakes.
Now that the background is done, I start to build the scenery onto the card. First, I glue the sentiment onto the front of the card.
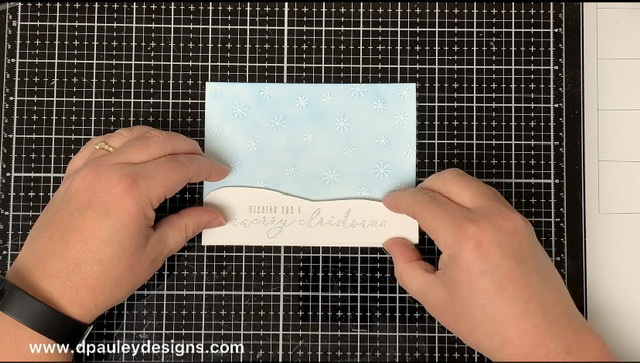
I trim the panel down to 5 ¼” x 4”. I trim a little off each side so the sentiment stays in the middle of the card.
I arrange the tree branches where I want them to go on the card.. Once, I have the layout done. I glue them to the card using my Liquid glue.
I find the perfect spot for my bird on the tree and then I glue his feet on the tree first and then cover the feet with the body of the bird.
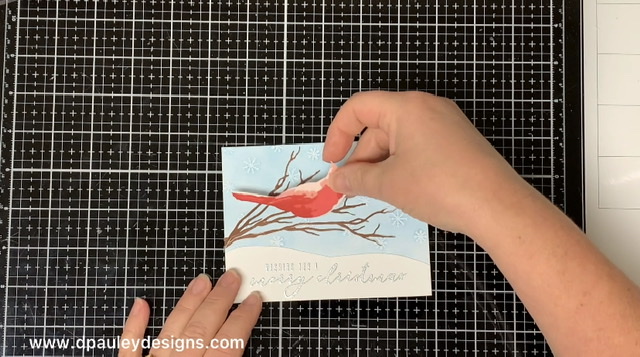
It’s time to glue the berries on the tree. There is no right or wrong spot to put the berries. I wanted a bunch of berries but you can put as many as you want on the tree. I randomly glue the berries onto the tree branches. I wanted the red to stand out.
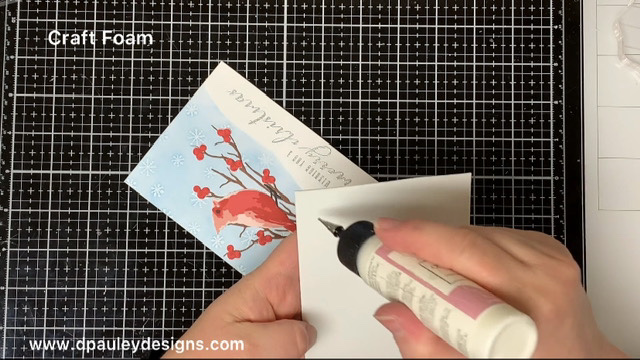
I glue a piece of craft foam to the back of the panel. The Craft Foam is just a little smaller than the panel.
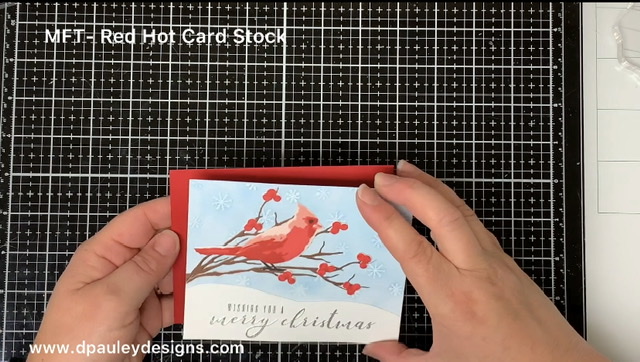
Then I glue the panel to a piece of Red Hot card stock that is cut to 5 ⅜” x 4 3/16”. To finish the card off, I glue the panel onto a piece card stock folded to 5 ½” x 4 ¼”.

That completes my card for today. If you would like to see how I made the card, please watch my Youtube Video listed below.
This is beautiful!!! Soft blue background with a pop of red!! I love it! Top job.
Thank you for submitting your beautiful work to the AECP assignment gallery.
Wow! This card is beautiful! I had no idea how many steps went into creating a card like this. I especially like how the embossing powder makes the designs pop. Very creative!